How do I troubleshoot a low flow alarm on a mould temperature controller?
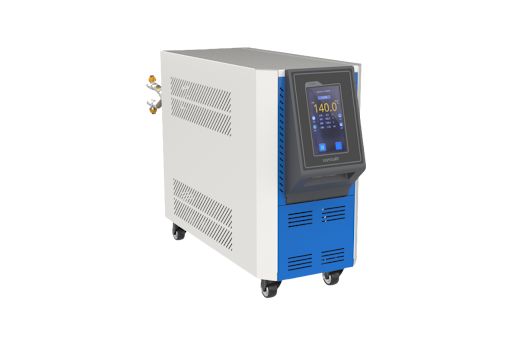
When I encounter a mould temperature controller low-flow alarm, I know that immediate action is crucial to protecting the mould and the injection moulding machine. The alarm typically indicates that the coolant is not circulating at the set rate, which poses a risk of overheating, uneven mould temperature, and damage to precision-moulded parts. To troubleshoot effectively, I follow a structured approach: confirming that the pump is operating correctly, checking the filter, verifying the accuracy of the flow sensor, and ensuring the quality of the fluid. These measures help ensure that the system remains efficient and avoids costly production interruptions.
Verify the Pump Function and Power Supply to the Mould Temperature Controller
First, I check the circulation pump on the mould temperature controller, which is the heart of the thermal regulation system. Technicians often trace low-flow alarms to a faulty or inefficient pump. I listen for unusual noises—grinding, humming, or cavitation—which can indicate worn bearings or air in the lines. Then, I confirm that the pump motor is receiving the correct voltage by measuring the terminals; fluctuations, loose wires, or low voltage can significantly reduce flow. If I find an electrical problem, I check the start relay, control fuses, and motor wiring connections for signs of corrosion or overheating. In many cases, ensuring the pump is running smoothly and at the specified RPM can resolve low-flow alarms and prevent further complications.
Check the Mould Temperature Controller’s Filters and Screens
Next, I turn my attention to the inlet filters and screens, which are critical components of the mould temperature controller. Over time, contaminants such as scale, rust, mineral deposits, or mould release agents can accumulate and clog these components, restricting coolant flow. I isolate the pump by shutting off the water supply valve, relieving system pressure, and then carefully removing the filter housing. After pulling out the screen element, I inspect it for clogs and clean it with compressed air or soak it in a descaling solution. If the screen element is damaged or corroded, I replace it entirely. After reassembling the filtration system, I slowly re-pressurise the coolant circuit and monitor for stable flow. A clean, functioning filter can often resolve the alarm and restore full fluid circulation.
Check the integrity of valves and flow paths.
After cleaning the filter, I thoroughly inspect the entire flow path of the mould temperature controllers, including all isolation valves, check valves, and hose connections. Operators must verify that every valve opens fully and that no debris clogs or jams any valve halfway. Quick-disconnect fittings used in flexible tubing can sometimes partially engage, causing internal blockages or fluid turbulence. I also check for physical deformations—such as kinks, clamped hoses, or cracked fittings—that can reduce flow rates. I also check fittings and tube connections for small leaks or drips, which indicate a pressure drop. Ensuring that the entire hydraulic circuit is intact and unobstructed is a crucial step in resolving low-flow issues and restoring consistent performance.
Eliminate air bubbles and ensure the quality of the fluid.
Air entrainment and degraded thermal fluid quality are often overlooked, but they are the leading causes of low flow in a temperature control unit. Air bubbles can accumulate high in the piping, especially after maintenance or coolant changes. I locate the manual bleed valves (usually near the highest point in the system) and slowly open them to expel any trapped air. After bleeding, I take a sample of the coolant and test it for concentration, pH, and conductivity. If the fluid is milky, dark, or smells burnt, it indicates contamination. In this case, I would thoroughly flush the system and refill it with the recommended mixture of water and corrosion-preserving glycol. This step can significantly improve heat transfer and flow efficiency.
Calibrating and Verifying Flow Sensors
Even if mechanical flow is restored, a miscalibrated or faulty flow sensor can still trigger a false alarm in a mould temperature controller. These sensors are typically impeller, vane, or ultrasonic types. I cross-check the controller’s display with the reading of a calibrated portable flow meter connected directly to the return line. If a discrepancy occurs, I would recalibrate the sensor according to the manufacturer’s instructions or replace it entirely if it proves to be unreliable. Inside the housing, I would clean the sensor with a soft brush and inspect the electrical connectors for moisture or corrosion. The accuracy of the sensor’s feedback is crucial for real-time diagnostics, and ensuring it functions properly helps maintain consistent process control throughout multiple moulding cycles.
Restoring Reliable Flow on a Mould Temperature Controller
Troubleshooting low-flow alarms on a mould temperature controller requires patience, experience, and a disciplined approach. Whether it is a pump failure, a clogged filter, cavitation, or a misreading sensor, each problem needs to be addressed methodically. By following these hands-on procedures, I have
ALSO READ: Turbo Media Site Demis Tech: Understanding Its Roles